Note one · you
Find your undertone first
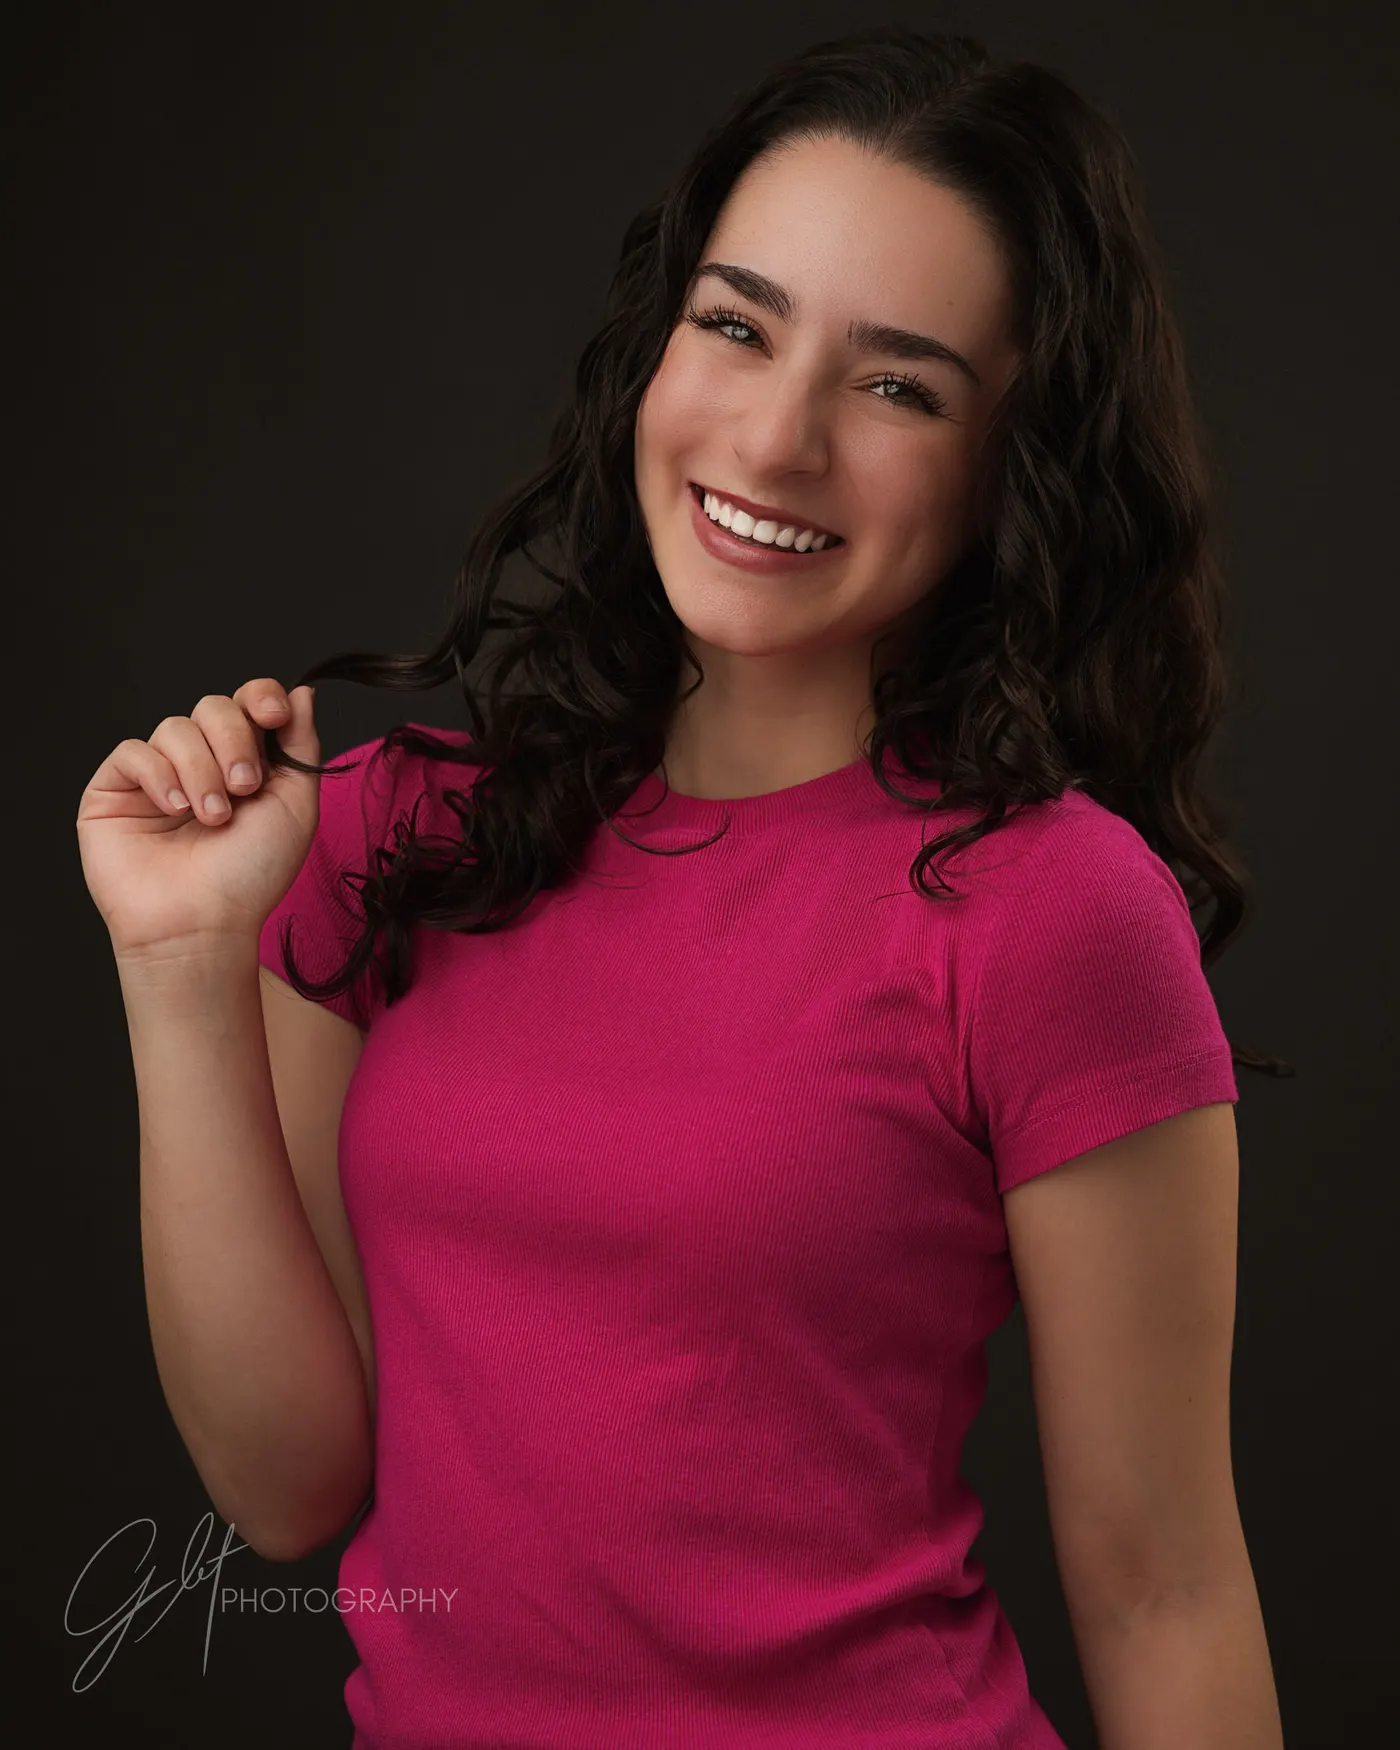
Before you pick a single color, spend thirty seconds at a window with your wrist turned up. The color of your veins in natural daylight tells you which family of colors will make your skin glow instead of washing it out — and it's the fastest trick I know.
veins look blue / purple
Cool undertone. Jewel tones, cool blues, emerald, navy — plus clean white and true black.
veins look green / olive
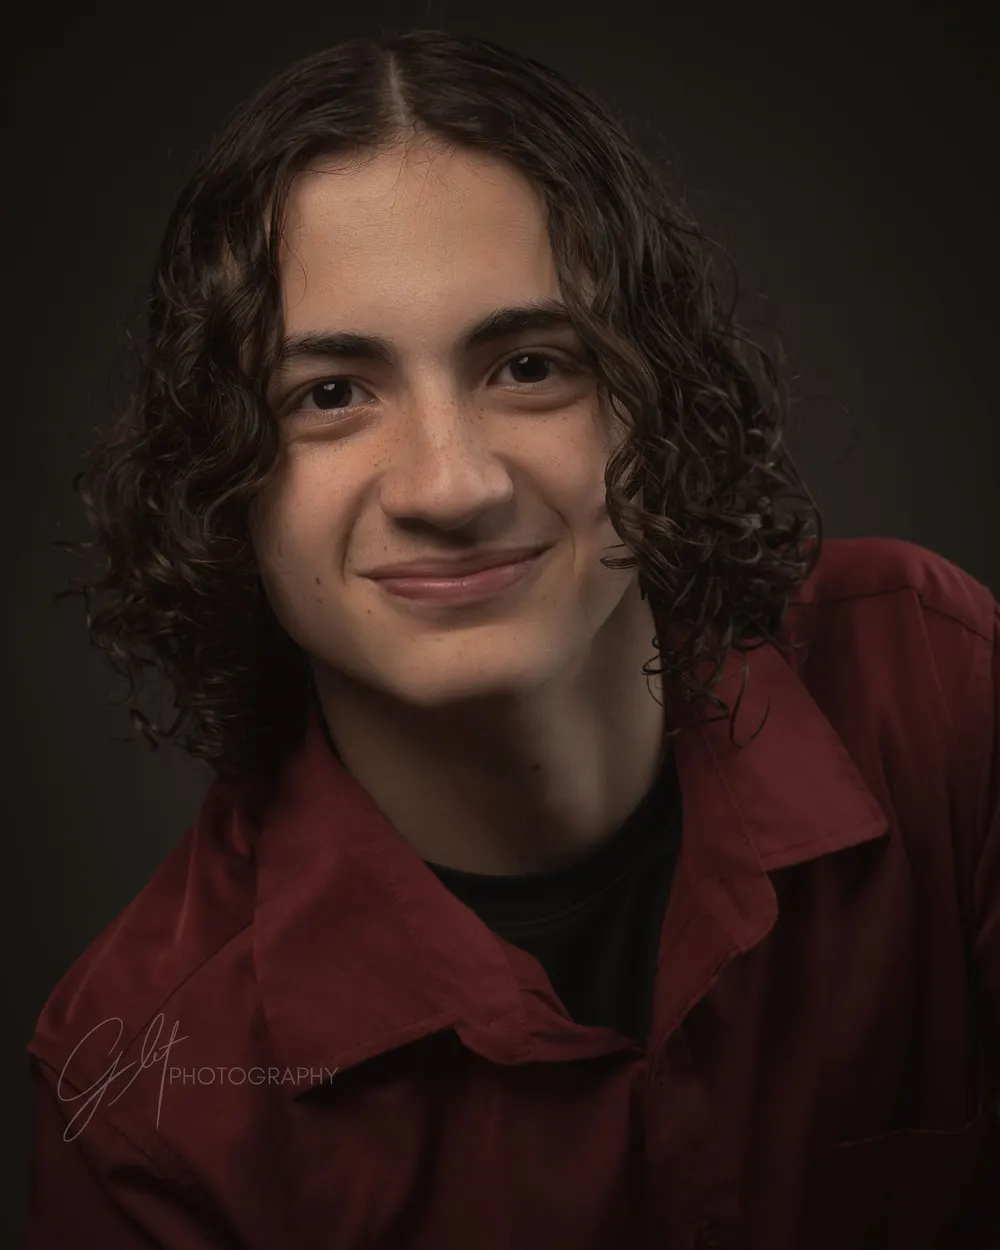
Warm undertone. Olive, mustard, burgundy, cream, warm browns, and rosy pinks.
honestly can't tell
Neutral undertone. Lucky you — both families work. Pick by mood, not rule.
Note two · color
Build a small palette
Now pick two or three colors from your family that work together — that's your palette, and every piece you bring should live inside it. A palette keeps a single look pulled-together and makes a whole group feel intentional instead of accidental.
Colors that photograph beautifully on nearly everyone:
- Use the rule of three: two coordinating colors plus one accent — no more.
- Start with one statement piece you love, then build everything else around it.
- Neon anything is out — bright orange, pink, yellow and green literally reflect color casts onto your skin.
Note three · the set
Match the palette to the set
Your outfit shares the frame with a background — so think about where we're shooting when you choose. A palette that sings on my dark studio backdrop can disappear against summer greenery, and vice versa.
- In the studio — my backdrops run dark and warm: jewel tones, deep rich colors, and cream separate beautifully from them. This is where that emerald or burgundy earns its keep.
- Outdoors in green (parks, spring & summer) — earth tones and soft cool colors sit naturally in the scene; skip greens that blend into the foliage.
- Golden hour & fall — warm earth tones (rust, mustard, camel) glow; add one deep tone like navy so the frame doesn't go all-amber.
- Winter & indoor events — bring at least one strong pop of color; maroon and burgundy carry cold months when the scenery has none.
Note four · fabric
Solids first, then texture
Solid colors keep the attention where it belongs — on your face. Busy patterns, big logos, and bold stripes pull the eye away and date a photo quickly.
- Choose solid colors as your foundation, especially for headshots.
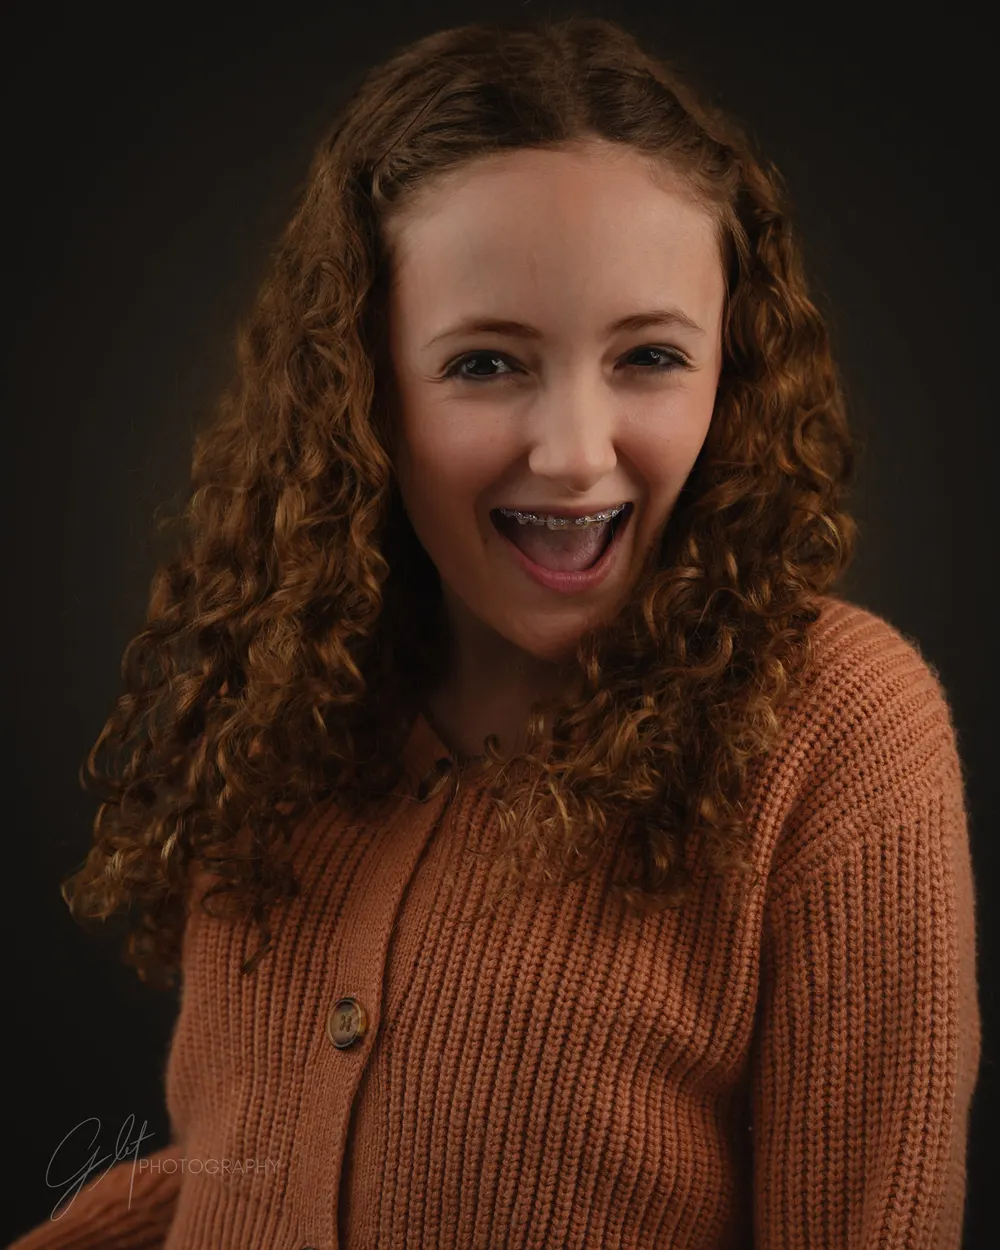
- Add interest with texture instead of pattern — a chunky knit, soft suede, a linen weave, or denim photographs rich without competing with you.
- If you love a pattern, keep it small and subtle, and let it be the one statement in an otherwise simple outfit.
- Kids get more grace: small prints are fine — big character graphics and logos are not.
Note five · shape
Necklines, sleeves & fit
A flattering neckline frames your face and opens up your eyes; good fit does the quiet work of making everything look effortless.
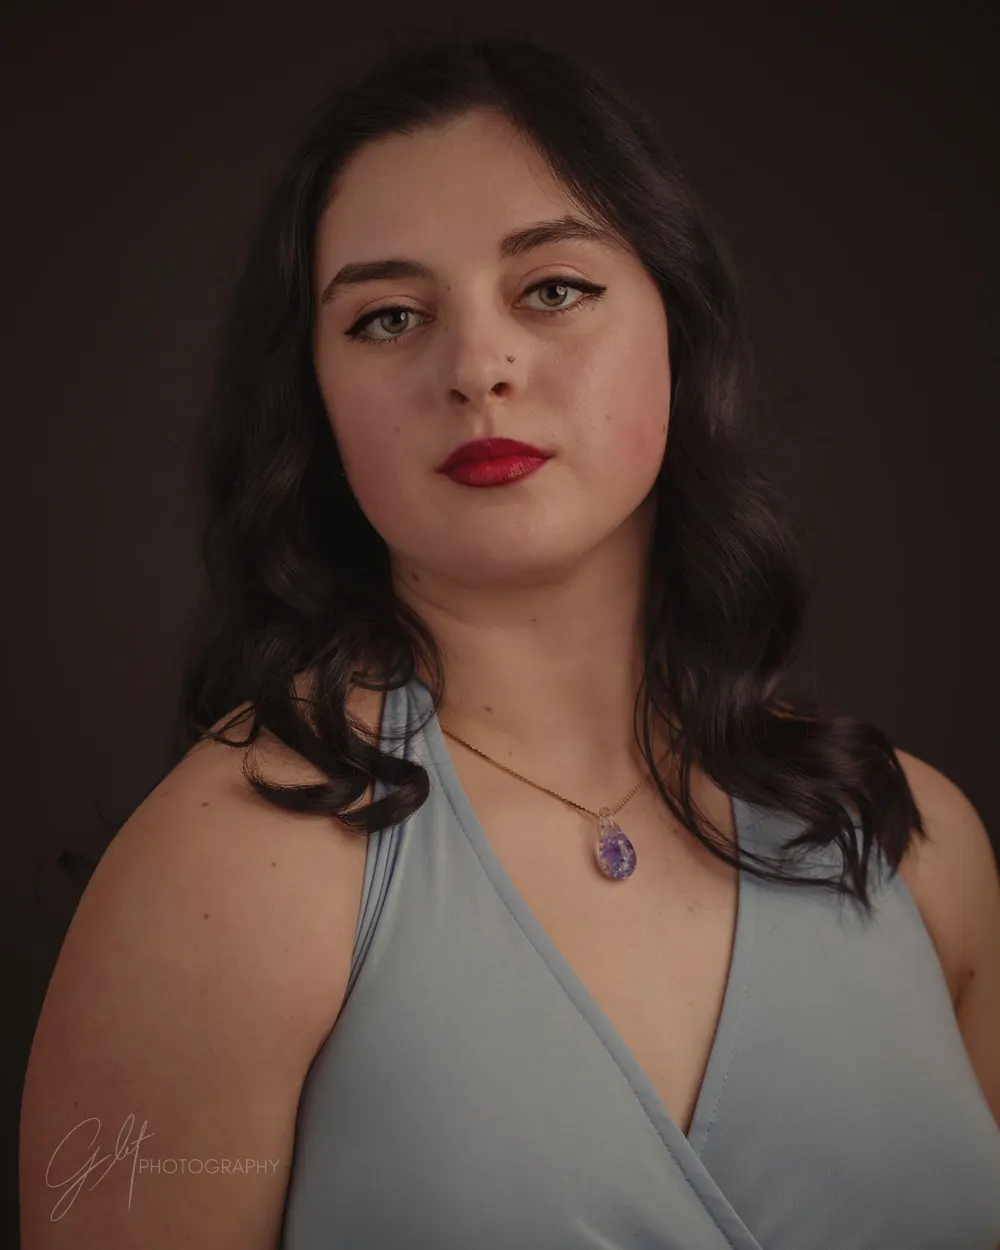
- Crew necks, V-necks, scoop necks, and simple collars all frame the face well — pick what feels like you.
- Steer clear of very wide boat necks or high turtlenecks unless they're genuinely your signature.
- Bare shoulders read casual fast — if you go sleeveless, bring a cardigan or jacket so we can do both.
- Fit matters more than the size on the tag — too tight pulls and puckers, too loose adds bulk. Aim for clean and comfortable.
- You should be able to move: sit, cross your arms, laugh. If an outfit only works standing perfectly still, leave it.
- Steam or iron everything. Wrinkles are one of the few things I can't fully fix in editing.
Note six · depth
Layer up & accessorize
Layers and a few small accessories let us shift a look without a full outfit change — and they give a photo depth and personality.
- Bring a jacket, cardigan, or overshirt you can add or remove for variety — one layer is a whole second look.
- Keep jewelry simple — one or two pieces that feel like you, not everything at once.
- A hat, a scarf, or a signature pair of glasses can make a frame feel unmistakably yours — and clean those glasses before you come.
- Don't forget shoes — they show up far more often than people expect, especially in full-length and seated poses.
Note seven · groups
Coordinate a group, don't match
For families and groups, matching head-to-toe looks flat and dated. Coordinating within a shared palette looks rich and intentional — everyone belongs together, but each person still stands out.
- Pick your palette first, then let each person wear their own version of it.
- Mix tones and textures within the palette so no two people blend together — and please, no matching white shirts.
- Start with the trickiest person to dress — often a teen or a little one — and build everyone else around them.
- Mixed undertones in one family? Lean on complementary colors across the palette instead of forcing everyone into one family.
- Babies photograph sweetest in soft solids — and barefoot beats brand-new shoes every time.
- Lay every outfit out together the night before; it's the fastest way to spot a clash or a doubled-up color.

Note eight · the cut list & the countdown
What to leave at home — and the night before
- Large logos, slogans, and licensed-character graphics — they date a photo and pull focus.
- Neon and highly reflective fabrics — they throw odd color onto your skin.
- Brand-new shoes or stiff, scratchy outfits you won't be able to relax in.
- Anything that doesn't quite fit right now — “I'll just suck it in” never reads as relaxed on camera.
Then do future-you a favor and get everything ready the night before, so the morning is calm:
- Haircuts and color happen a week or more before the session — never the day before.
- Try on every outfit, head to toe, including shoes — and put back anything that doesn't feel right.
- Steam or iron, then hang each look together so nothing gets wrinkled or forgotten.
- Pack accessories, a brush or comb, touch-up powder and lip balm in one bag by the door.